Most of what a chimney sweep does happens out of sight — inside a wall, at the top of a chimney stack, or on a roof most homeowners never climb onto. To show what a proper flue liner (tubage) installation actually involves, we’re walking through a real project our team completed: connecting a new boiler to an existing masonry chimney via a stainless steel liner, with the flue routed through the wall and up through the roof.
Why a flue liner is needed in the first place
Older masonry chimneys were often built for open fireplaces or older heating systems, not for the boilers and stoves installed today. A bare brick or concrete-block flue can be the wrong diameter, no longer airtight, cracked, or simply unsuited to the appliance being connected. Installing a liner — a continuous stainless steel or rigid duct running the full length of the chimney — solves all of this: it gives the exhaust gases a smooth, correctly sized, sealed path from the appliance to open air.
Signs that a liner is needed include a chimney that’s structurally sound but oversized for a new appliance, visible cracks or crumbling mortar inside the flue, persistent draft problems, or — as in this project — a new boiler being installed that needs its own dedicated, code-compliant exhaust route.
Step 1: opening the wall to reach the existing duct
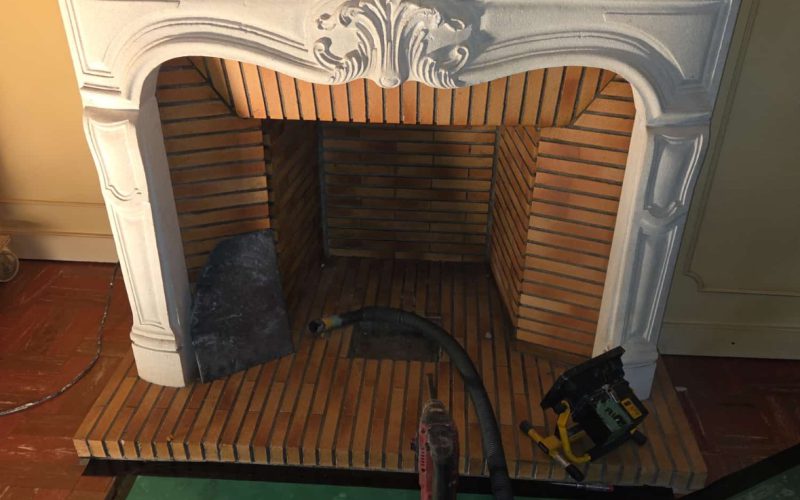
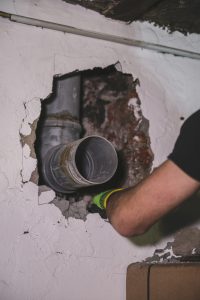
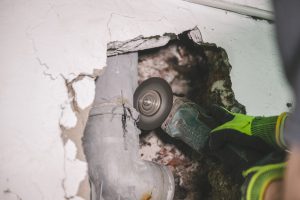
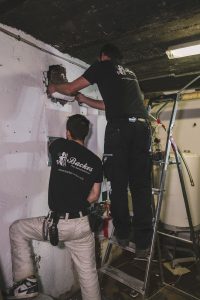
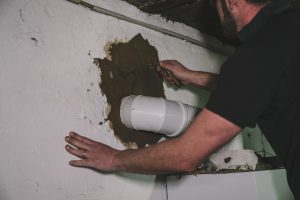
The first job was locating and exposing the old flue connection inside the plaster wall. Our technician cut through the render to reach the original ducting, revealing an older pipe run in poor condition. This is a normal part of the process — you can’t assess or upgrade what you can’t see, so opening the wall at the right point is the starting line for the whole installation.

Step 2: cutting and fitting the new duct
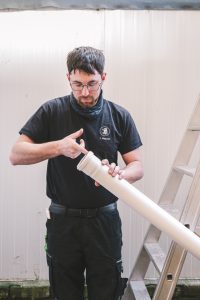
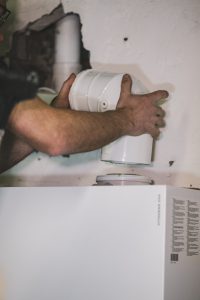
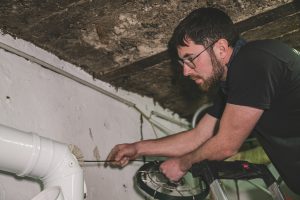
With the opening made, the old section was cut back and a new PVC duct was measured, cut to size, and test-fitted before final assembly — checking the angle and alignment against the boiler’s connection point. Every joint has to seat correctly the first time; an exhaust duct that’s slightly misaligned can create leaks or restrict the draft further down the line.
Step 3: sealing and finishing the wall opening
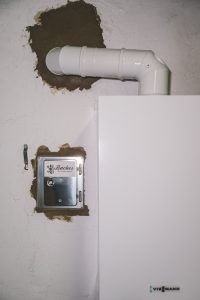
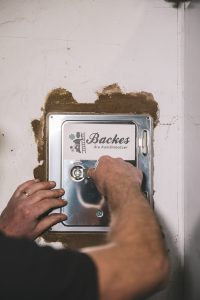
Once the duct was correctly positioned, the opening was rendered closed around it with mortar, and a stainless inspection hatch — clearly marked with our details — was set into the wall nearby. This hatch matters: it gives future access for inspection or sweeping without having to reopen the plaster each time. A tidy finish here isn’t just cosmetic; it’s what makes the next ten years of maintenance straightforward instead of invasive.
Step 4: routing the liner up through the roof
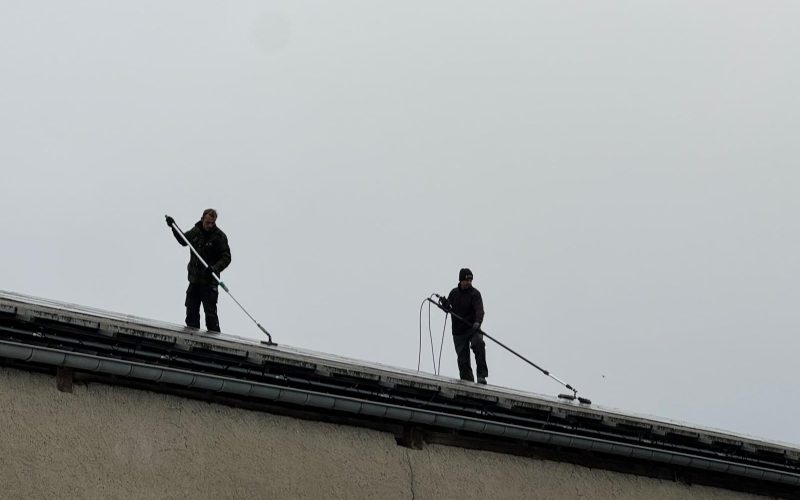
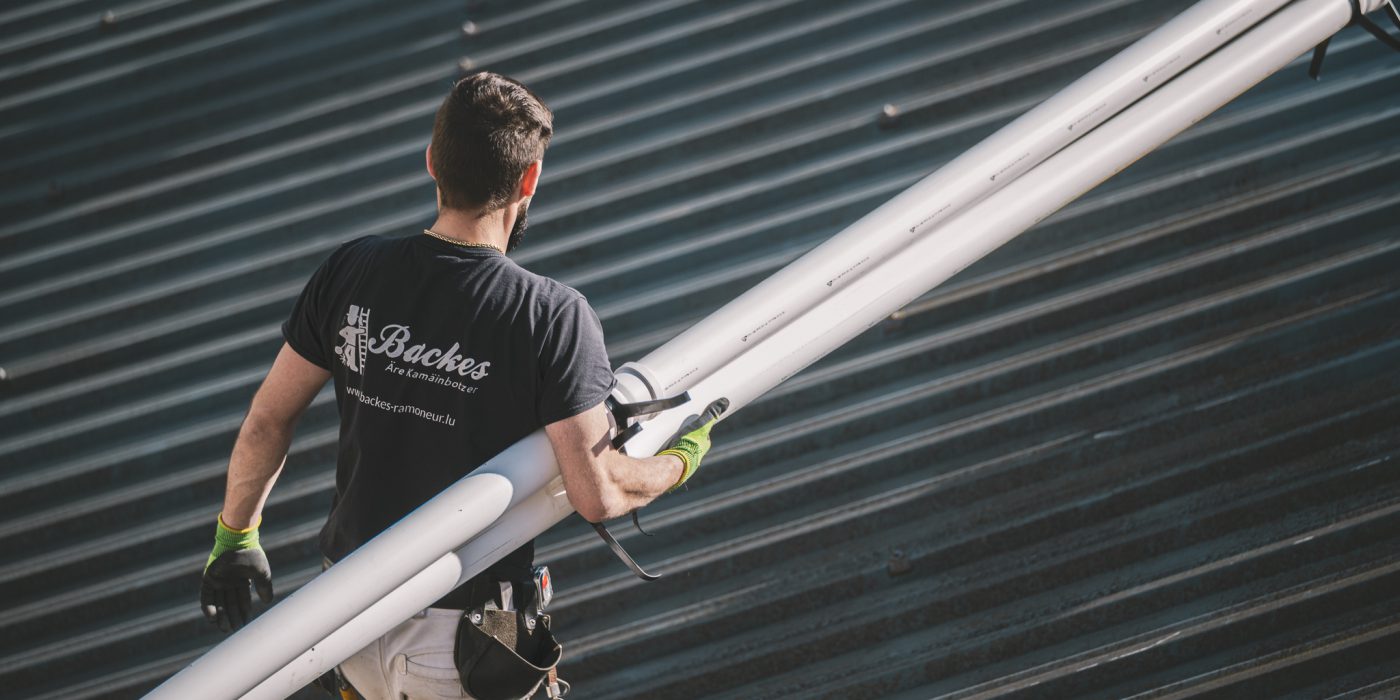
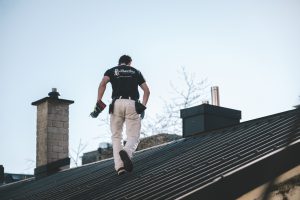
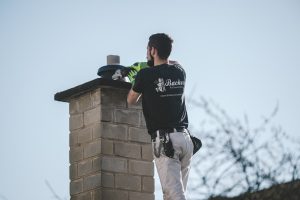
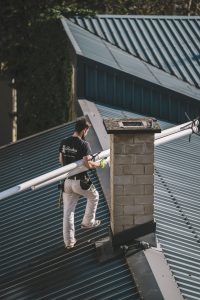
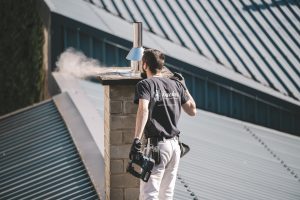
From the boiler connection, the route continues upward, out through the roof, and into the existing brick chimney stack. Our technician carried the new ducting across the roof to the chimney, working carefully along the ridge line — this part of the job is as much about safety and roof access as it is about the ducting itself. At the top of the stack, the concrete chimney cap was cut open with an angle grinder to create a clean passage for the new liner.
Step 5: installing the liner and cap
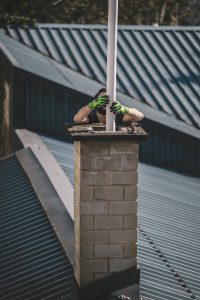
The stainless steel liner was then fed down through the chimney and fitted at the top with a conical rain cap — the fitting that keeps water out while letting exhaust gases escape freely. Getting this last connection right is what protects the whole chimney structure from water ingress over the years, so it’s not a step to rush.

Step 6: testing the installation
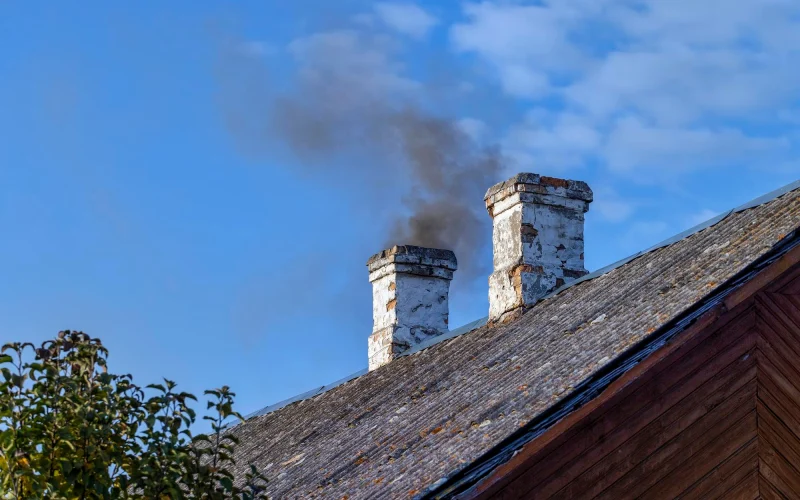
Before calling the job finished, the system was tested — including a smoke test to confirm the draft was pulling correctly through the new liner and escaping cleanly at the cap. Only once the airflow and seals check out is the installation considered complete.
What this project shows about relining in general
Every flue relining job follows the same logic, even when the specific layout differs: assess the existing duct, open up only what’s needed to reach it, fit a correctly sized liner the full length of the chimney, seal every joint, provide proper access for future maintenance, and test the result. Cost and duration depend mainly on the liner length, the number of bends, how much masonry work is needed, and roof access — which is why every relining project starts with an on-site assessment rather than a phone quote.
As for lifespan: a good stainless steel liner, properly installed, will typically serve for 15 to 20 years or more before it needs replacing — provided the chimney is swept and inspected on the usual schedule.
Thinking about relining your own chimney?
If your chimney is older than your heating system, or you’re planning to install a new stove or boiler, it’s worth having the flue assessed before committing to any appliance. Get in touch and we’ll come take a look.